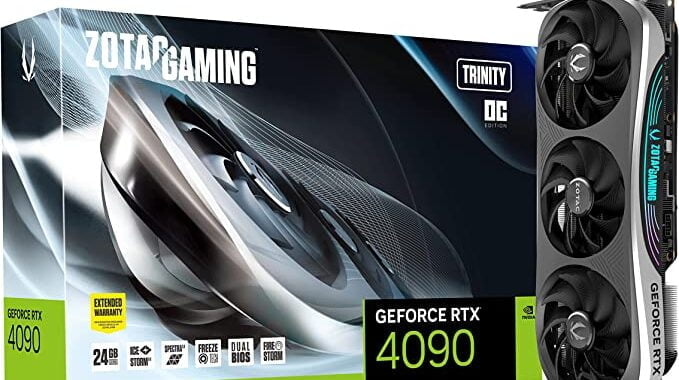
Upgrading your graphics card is an exciting experience for any PC gamer, as it allows you to enjoy better performance, graphics, and frame rates. However, to get the best out of your graphics card, you need to ensure that it has the right power supply.
The power supply unit (PSU) is responsible for delivering power to all the components in your PC, including the graphics card. A mismatch between the power supply and the graphics card can lead to instability, crashes, and even damage to your hardware. In this article, we'll take a look at what you need to know to upgrade to the right power supply for your graphics card, with a focus on transient spikes and the importance of having headroom in your power supply.
Transient Spikes and Their Impact on Power Supply
Transient spikes are sudden and brief surges of voltage that can occur in your PC's power supply. These spikes are typically caused by sudden changes in power demand, such as when your graphics card is under heavy load. While transient spikes are normal and often harmless, they can damage your hardware if they are too frequent or severe.
The impact of transient spikes on your graphics card depends on its quality and capacity. High-end graphics cards with more power-hungry components are more susceptible to transient spikes than their lower-end counterparts. A good power supply will have built-in safety features to protect your hardware from transient spikes and other power-related issues.
Safety Features Required in Power Supply
When upgrading your power supply, there are several safety features you should look for. These features will help protect your hardware from power-related issues and ensure that your PC runs smoothly and reliably.
Overvoltage Protection (OVP)
OVP is a safety feature that protects your hardware from damage due to excessive voltage. When the voltage in your PC exceeds a certain threshold, OVP will kick in and shut down the power supply to prevent any damage. This feature is essential for protecting your graphics card and other components from damage due to transient spikes.
Overcurrent Protection (OCP)
OCP is a safety feature that protects your hardware from damage due to excessive current. When the current in your PC exceeds a certain threshold, OCP will shut down the power supply to prevent any damage. This feature is essential for protecting your graphics card and other components from damage due to power surges.
Short-Circuit Protection (SCP)
SCP is a safety feature that protects your hardware from damage due to a short circuit. When a short circuit occurs, SCP will shut down the power supply to prevent any damage. This feature is essential for protecting your graphics card and other components from damage due to power surges.
Overload Protection (OPP)
OPP is a safety feature that protects your hardware from damage due to excessive power consumption. When the power consumption in your PC exceeds a certain threshold, OPP will shut down the power supply to prevent any damage. This feature is essential for protecting your graphics card and other components from damage due to power surges.
The Importance of Having Headroom in Your Power Supply
It's important to note that your power supply should have some headroom to accommodate transient spikes. This means that the wattage of your power supply should be slightly higher than the maximum power consumption of your components.
When your graphics card experiences a sudden spike in power demand, such as during intense gaming or graphic rendering, it can draw more power than usual from the power supply. If your power supply is not designed to handle these transient spikes, it may become overloaded and shut down, or worse, damage your hardware.
Having some headroom in your power supply can help absorb these transient spikes without causing any issues. For example, if your graphics card requires 500 watts of power, it's recommended to use a power supply with a wattage of 600 or 650 watts. This will ensure that the power supply can handle any sudden spikes in power demand without being overloaded.
Additionally, having headroom in your power supply can also help extend the lifespan of your components. A power supply that is operating at its maximum capacity can run hotter and wear out faster than one that has some headroom.
Conclusion
Upgrading to the right power supply for your graphics card is crucial for ensuring the longevity and stability of your PC. When choosing a power supply, look for safety features such as OVP, OCP, SCP, and OPP to protect your hardware from power-related issues. It's also essential to have some headroom in your power supply to accommodate transient spikes and extend the lifespan of your components. By following these guidelines, you can ensure that your PC runs smoothly and reliably, even during intense gaming or graphic rendering.


